How to Repot Succulents Step by Step
When a succulent needs a new pot, when to wait, and how to move it without harming the roots: dry soil first, fresh gritty mix, the same planting depth, and a pause before the first watering.
At a glance
What you need
- Pot with a drainage hole, slightly larger than the old one
- Fresh dry gritty mix
- Wooden skewer or chopstick
- Clean scissors
- Folded newspaper or soft-tipped tongs
- Soft dry brush
- Gravel for top dressing (optional)
Learning how to repot succulents is mostly a matter of timing and a light touch. The plants are tougher than they look, but their roots are fine and their leaves snap off easily, so a few habits make the job go smoothly.
The steps below work for most potted succulents, whether you have a plant that has outgrown its container or a new one still sitting in dense nursery soil. The main differences from repotting other houseplants are that you start with dry soil and you do not water straight afterward.
When to repot
Succulents are generally content in a snug pot, so there is no need to repot on a calendar. Look for a reason instead:
- Roots are crowded. They circle the inside of the pot, show at the surface or grow out of the drainage hole.
- The soil stays wet. A mix that is still damp long after watering is too dense or has broken down with age.
- The plant is top-heavy. It tips over, or offsets have filled the pot to the rim.
- It is a new plant in dense soil. Many succulents are sold in fine, peaty soil that holds more water than suits them at home.
- The pot has no drainage hole.
When to wait
The easiest time is at the start of the growing season, which for most succulents means spring, because new roots form quickly then. A plant can be repotted at other times if it has to be, for example when the soil is waterlogged.
Otherwise, hold off if the plant is in flower, if it is resting in the cold of winter or the peak of summer heat, or if it has just been through another big change such as shipping or a move to much brighter light. A newly bought plant in reasonable soil can settle in for a week or two first.
What to prepare
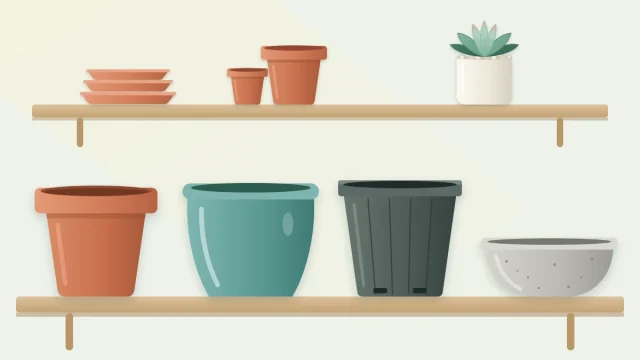
Choose a pot with a drainage hole that is only a little larger than the old one, about 1 in (2.5 cm) wider across the top as a rough guide. A pot that is much too big holds a lot of soil the roots cannot reach, and that soil stays wet. The guide to the best pots for succulents compares materials and shapes.
Have fresh, dry gritty mix ready. Reusing the old soil brings back the same drainage problems. If you are unsure what to buy or blend, see the guide to succulent soil.
How to repot, step by step
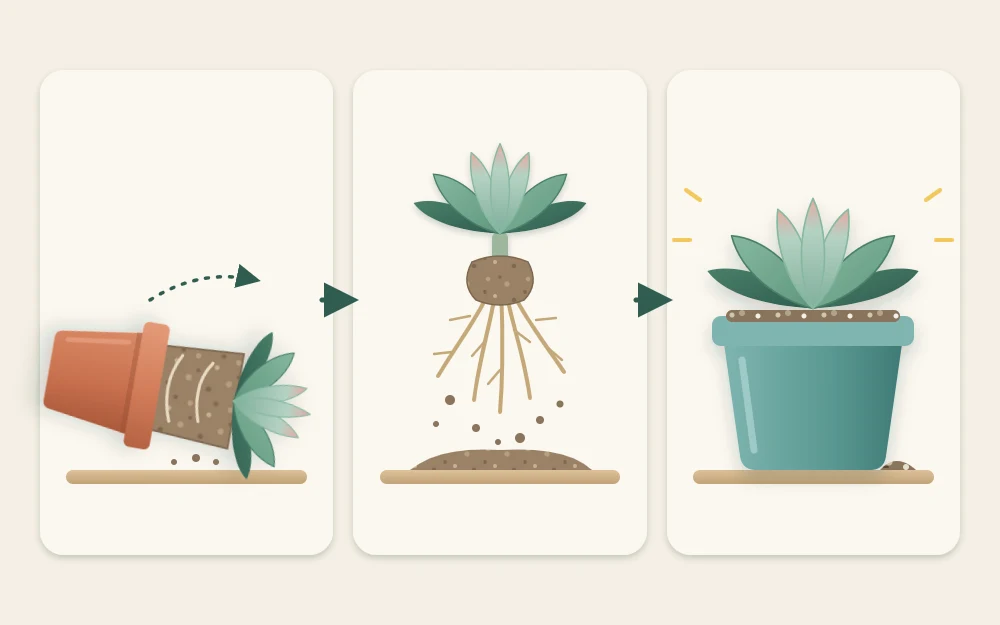
- Let the soil dry. Repot when the mix is dry through. Dry soil crumbles away from the roots, while wet soil clings and tears them.
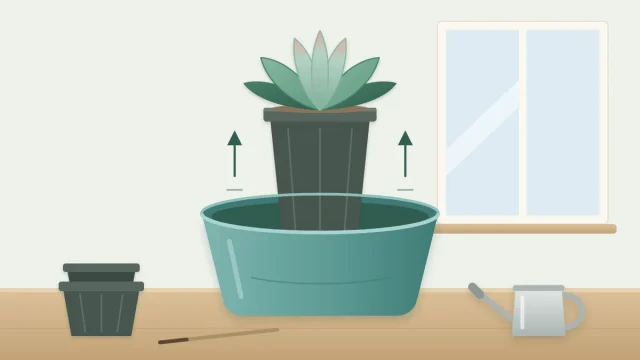
- Ease the plant out. Tip the pot on its side, support the base of the plant and tap or squeeze the pot. If it sticks, run a thin knife around the inside edge or push up through the drainage hole with a skewer. Do not pull on the stem or leaves.
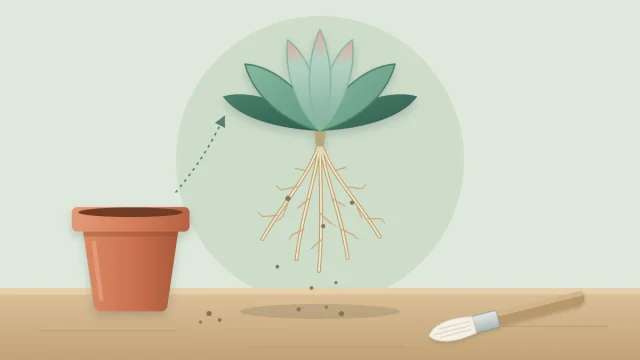
- Loosen the old soil. Crumble it away with your fingers and tease out circling roots with a skewer. Remove as much dense, peaty soil as comes away without force. A little left around the center of the root ball is fine.
- Look over the roots. Healthy roots are usually pale and firm. Cut off any that are dark and soft, or dry and hollow, with clean scissors. The article on succulent roots explains what is normal and what is not.
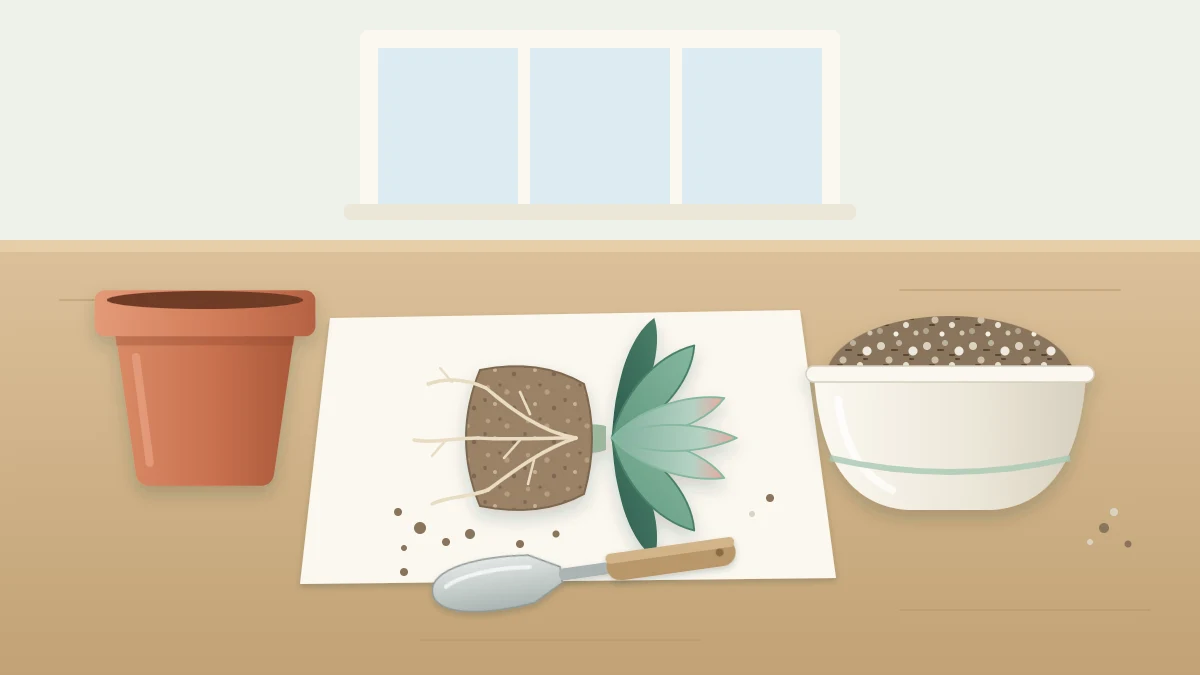
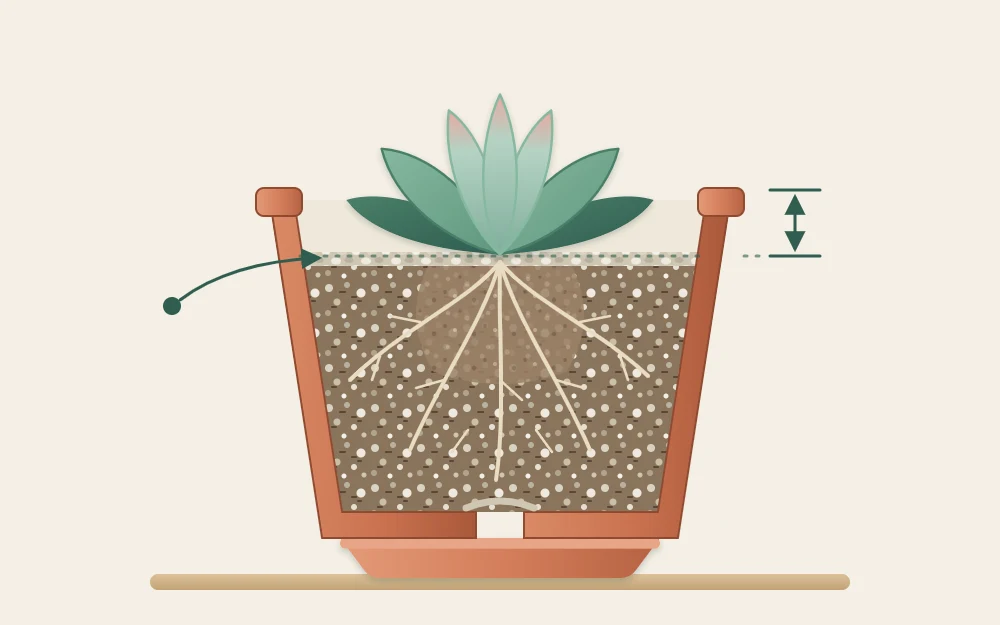
- Add a base layer of mix. Put enough in the new pot that the plant will sit at the right height. A layer of gravel at the bottom is not needed and does not improve drainage.
- Set the plant at the same depth. The point where the stem met the soil before should meet it again. Keep the lowest leaves above the surface, and leave a gap of about half an inch (1 cm) below the rim for watering.
- Fill and firm lightly. Spread the roots and pour mix around them. Tap the pot on the table to settle it, then press gently so the plant stands unaided. Do not pack the mix hard.
- Finish the surface. Brush soil off the leaves with a soft, dry brush. Add a thin top dressing of gravel if you like the look and want to keep the lower leaves off damp soil.
Handling spiny or fragile plants
For spiny plants such as agaves, some aloes and euphorbias, and for any cactus, fold a sheet of newspaper into a long thick strip, wrap it around the plant and hold the two ends like a handle. Soft-tipped tongs or thick gloves also work.
Fragile plants need a different kind of care. Burro’s tail and many sedums drop leaves at the slightest knock, so hold them by the root ball, not the stems, and expect to lose a few leaves anyway. On plants coated with farina, fingerprints leave lasting marks, so handle those from below as well.
Good to know
Euphorbias release a milky sap when cut or broken that can irritate skin and eyes. Wear gloves, keep your hands away from your face and wash up when you finish.
Aftercare: wait before you water
Repotting breaks fine roots, however careful you are. In dry mix those small wounds dry and seal. In wet mix they are more open to rot. So when the roots have been disturbed or trimmed, leave the plant dry for a while. Several days to a week or so is a common guide. If the root ball came out intact, the wait matters less.
Keep the plant in bright shade or bright indirect light for a week or two, out of hot direct sun, while the roots recover. Then give the first watering thoroughly, let the pot drain and move the plant back to its usual position.
What to expect afterward
A repotted succulent often does very little for a few weeks. It may shed a lower leaf or two, or look slightly soft while new roots form. That is commonly part of settling in, not a sign that something has gone wrong.
A gentle check tells you more than the leaves do. After a few weeks, nudge the plant lightly. If it resists, roots have taken hold. Hold off on fertilizer until you see new growth.
Frequently asked questions
Should I water succulents right after repotting?
Usually not, if the roots were disturbed or trimmed. Leaving the plant in dry mix for several days to a week or so gives broken roots time to dry and seal before they meet moisture. When the root ball was moved intact into a slightly larger pot, a shorter wait is fine.
What time of year is best for repotting succulents?
The start of the growing season suits most succulents, which usually means spring, because new roots form quickly. You can repot at other times when there is a pressing reason, such as waterlogged soil. It is better to avoid the coldest and hottest parts of the year and plants in flower.
How much bigger should the new pot be?
Only a little. As a rough guide, choose a pot about an inch wider than the old one, with a drainage hole. A much larger pot holds soil the roots cannot reach, and that soil stays wet for longer. If the roots were trimmed back, the same size pot with fresh mix may be enough.